
Setting up your profile
Getting started with Rippl is quick and easy. You must first create your account securely using your email address, or even faster by connecting directly with your Google account.
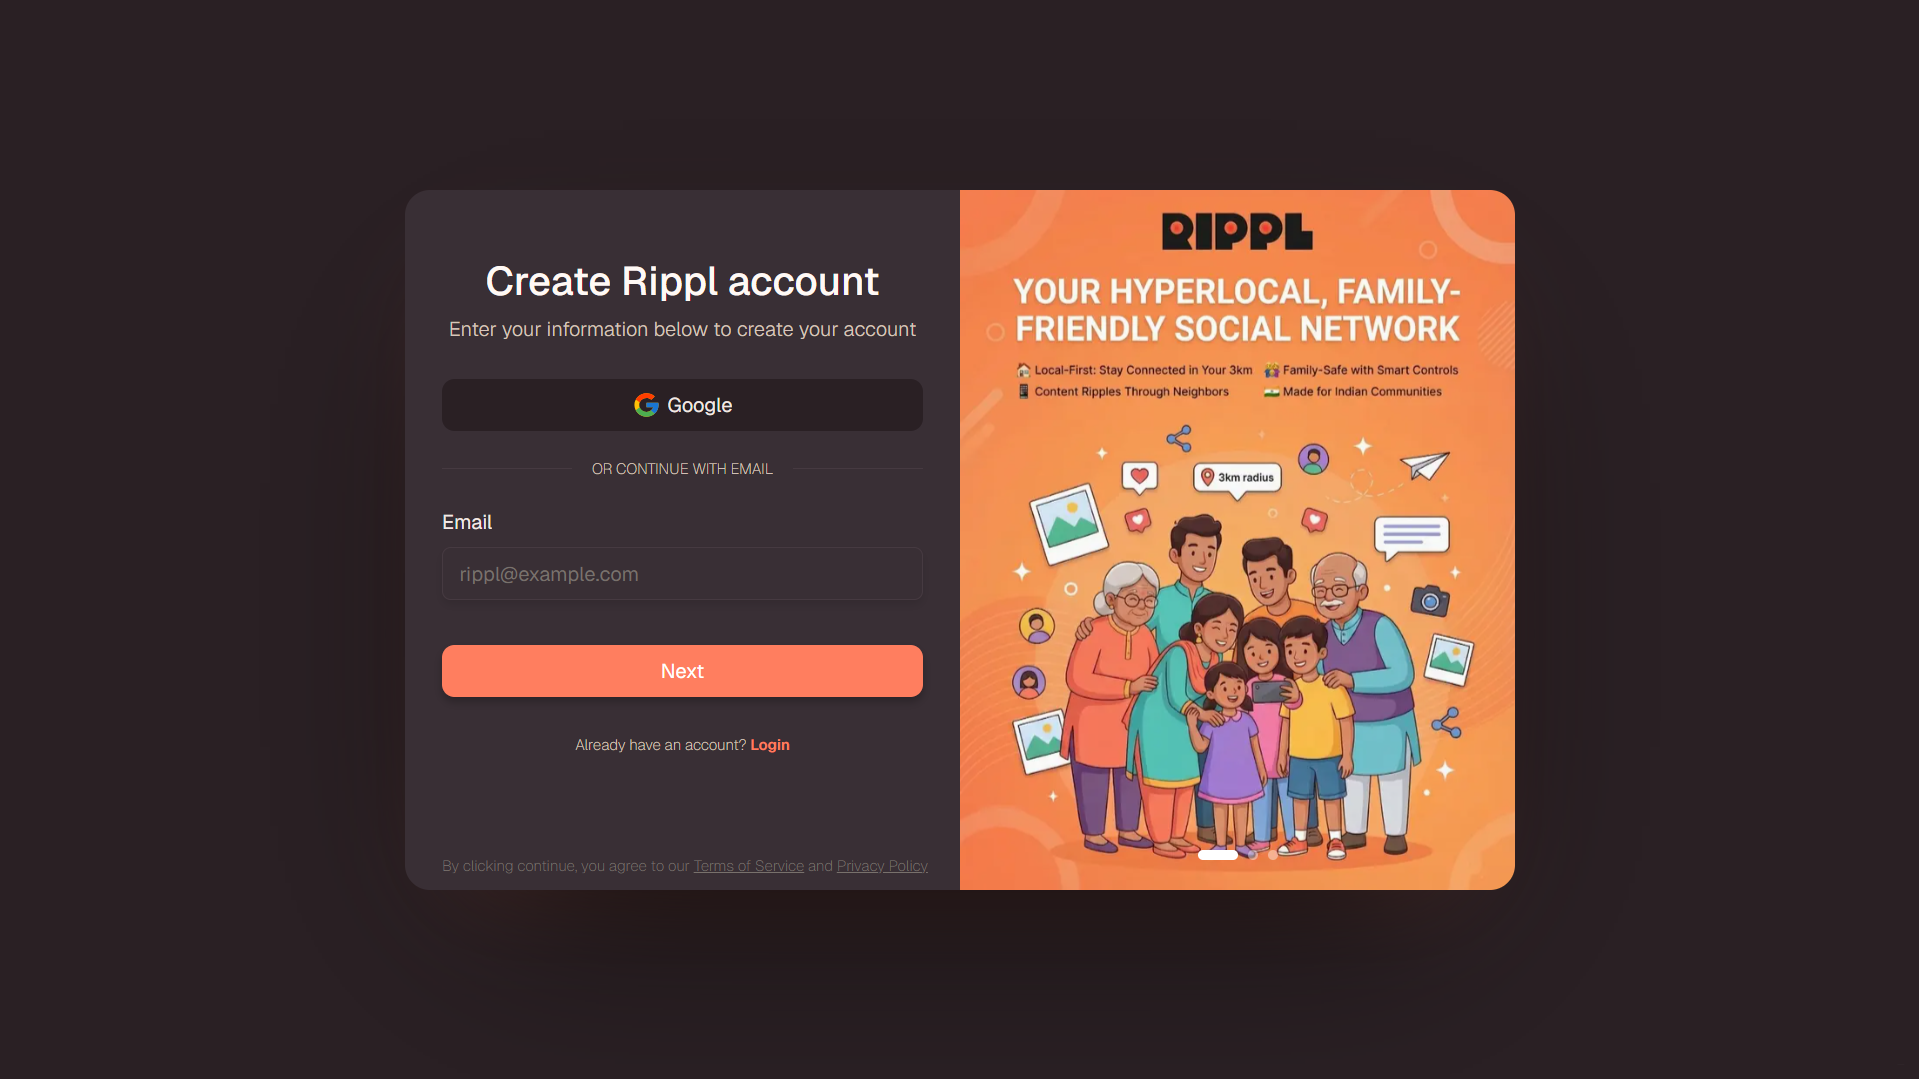
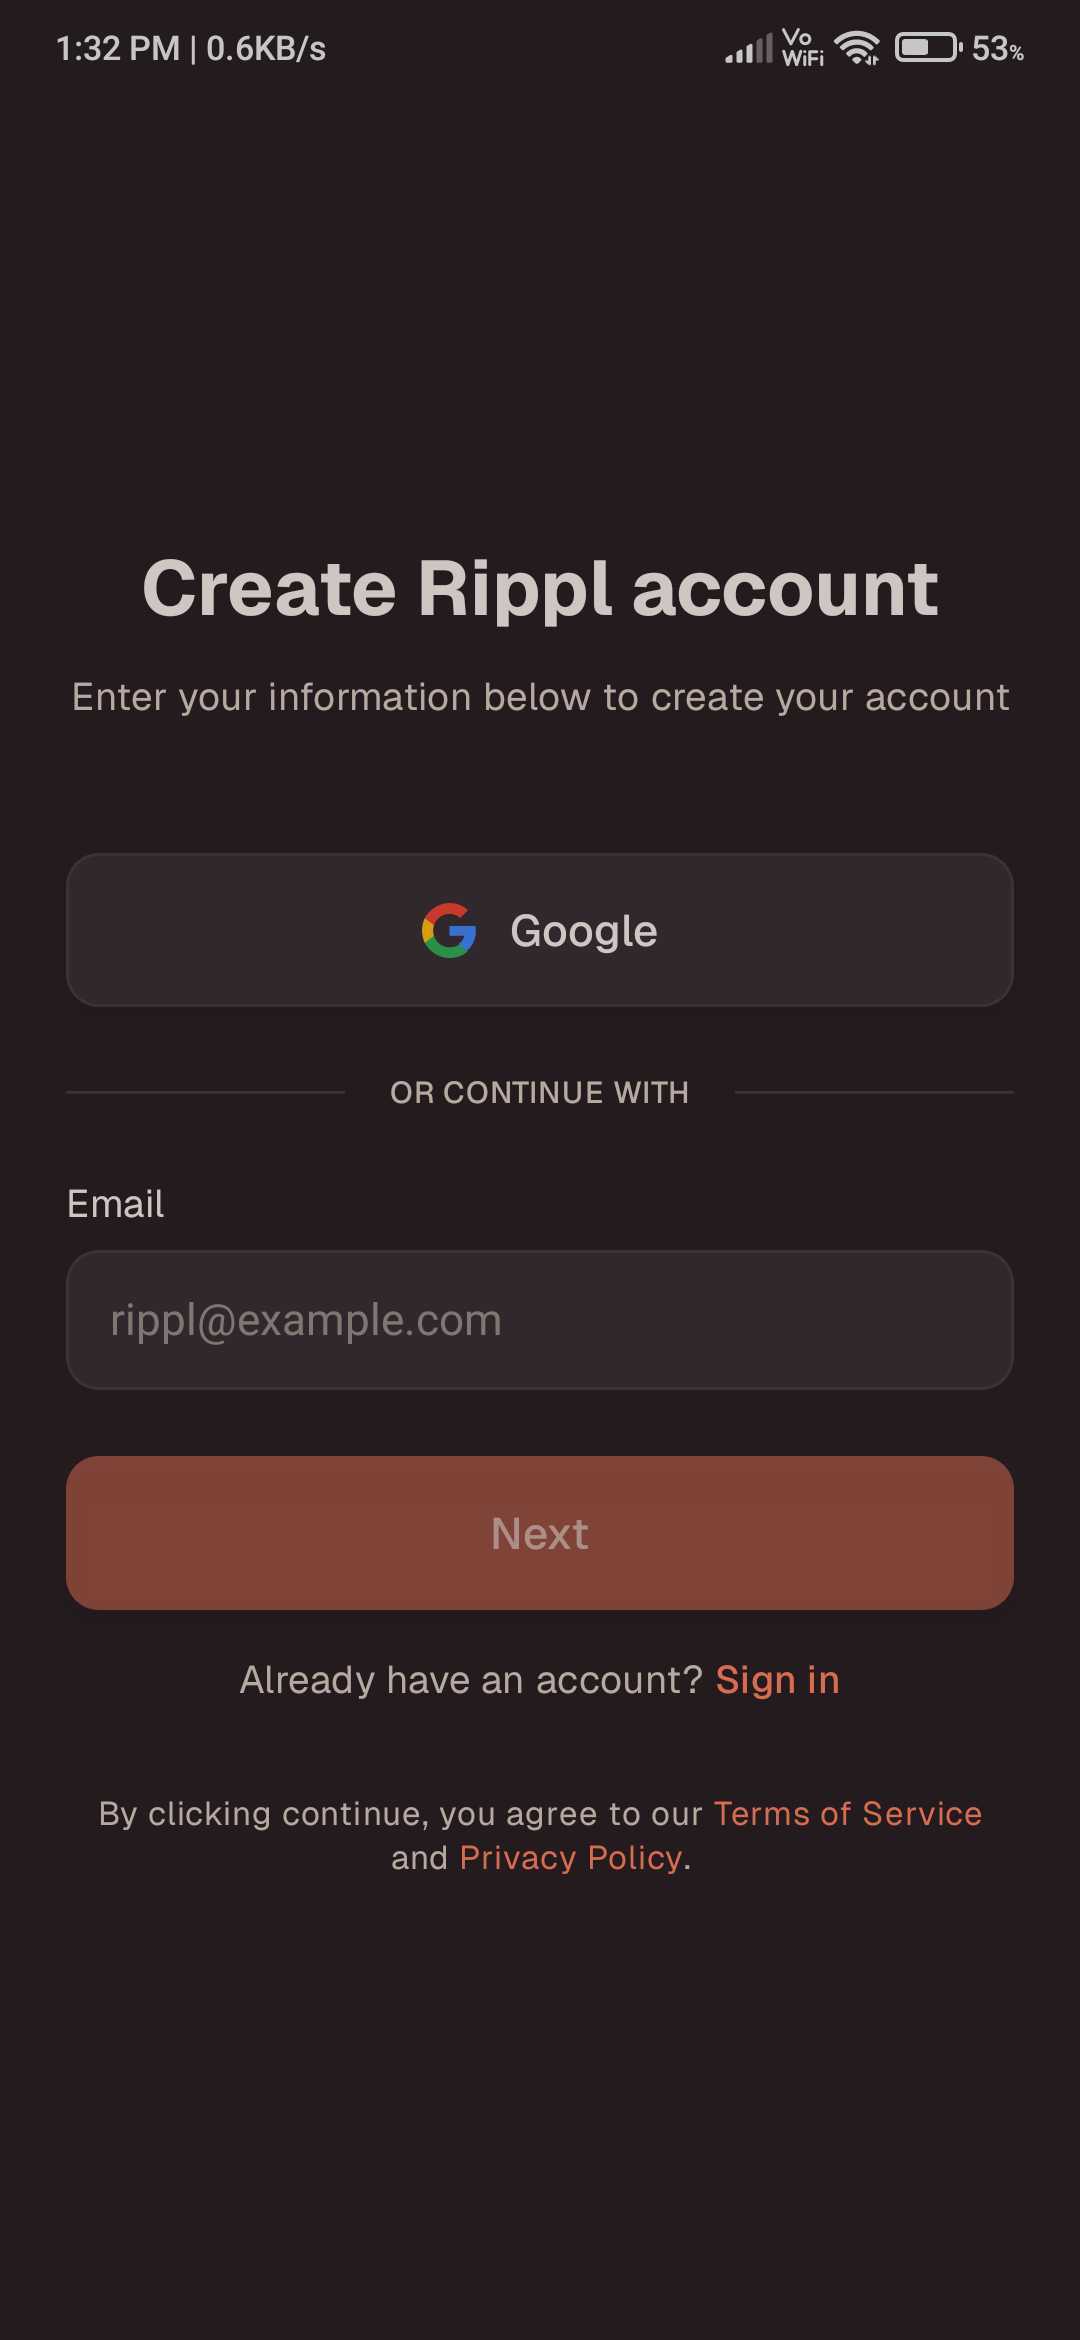
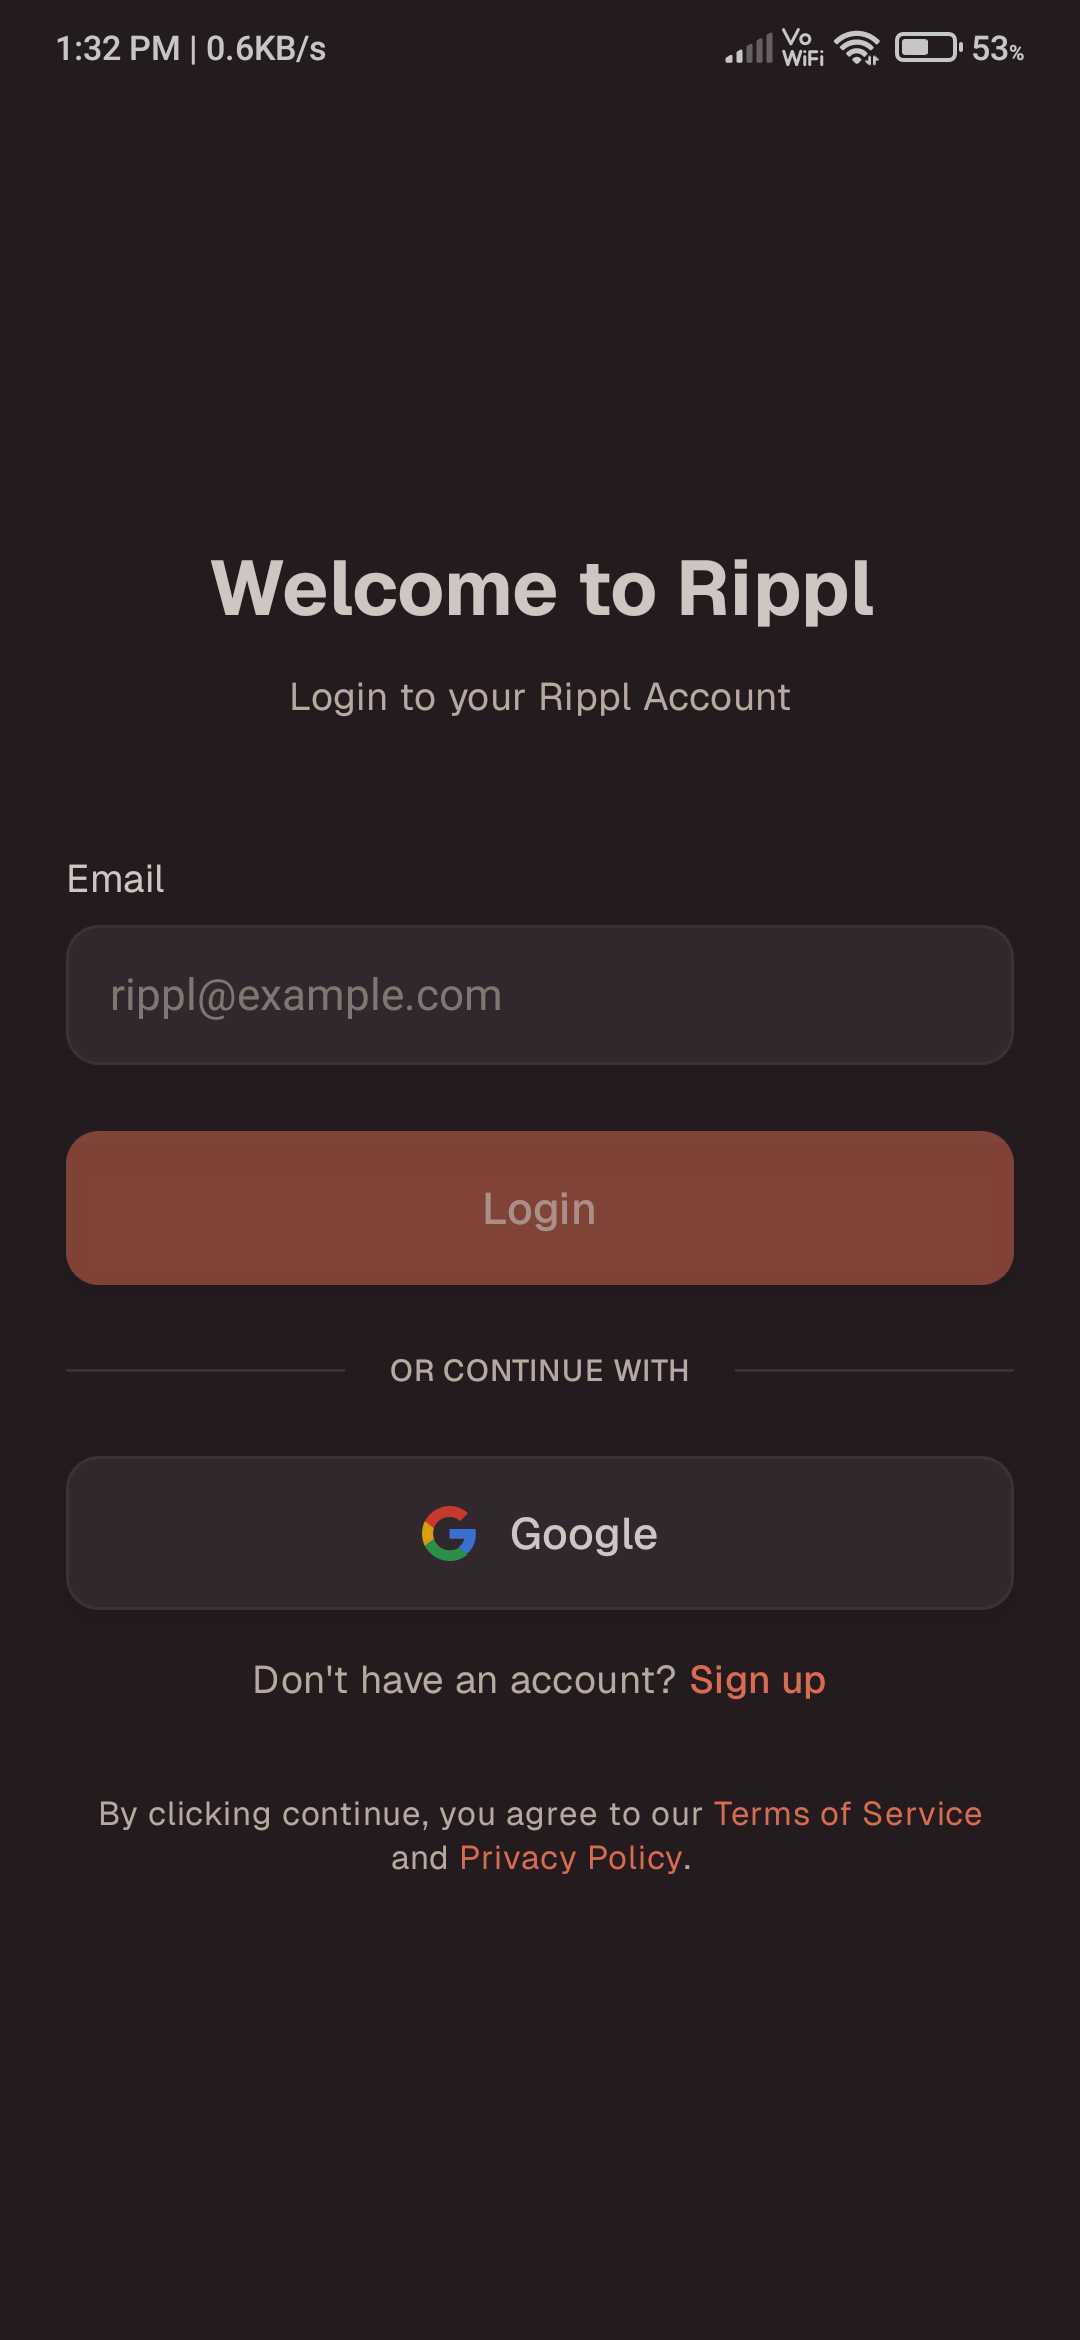
Sign up with Email or Google
Enter your email address on the registration screen, or simply click the Continue with Google button for a faster, passwordless setup.
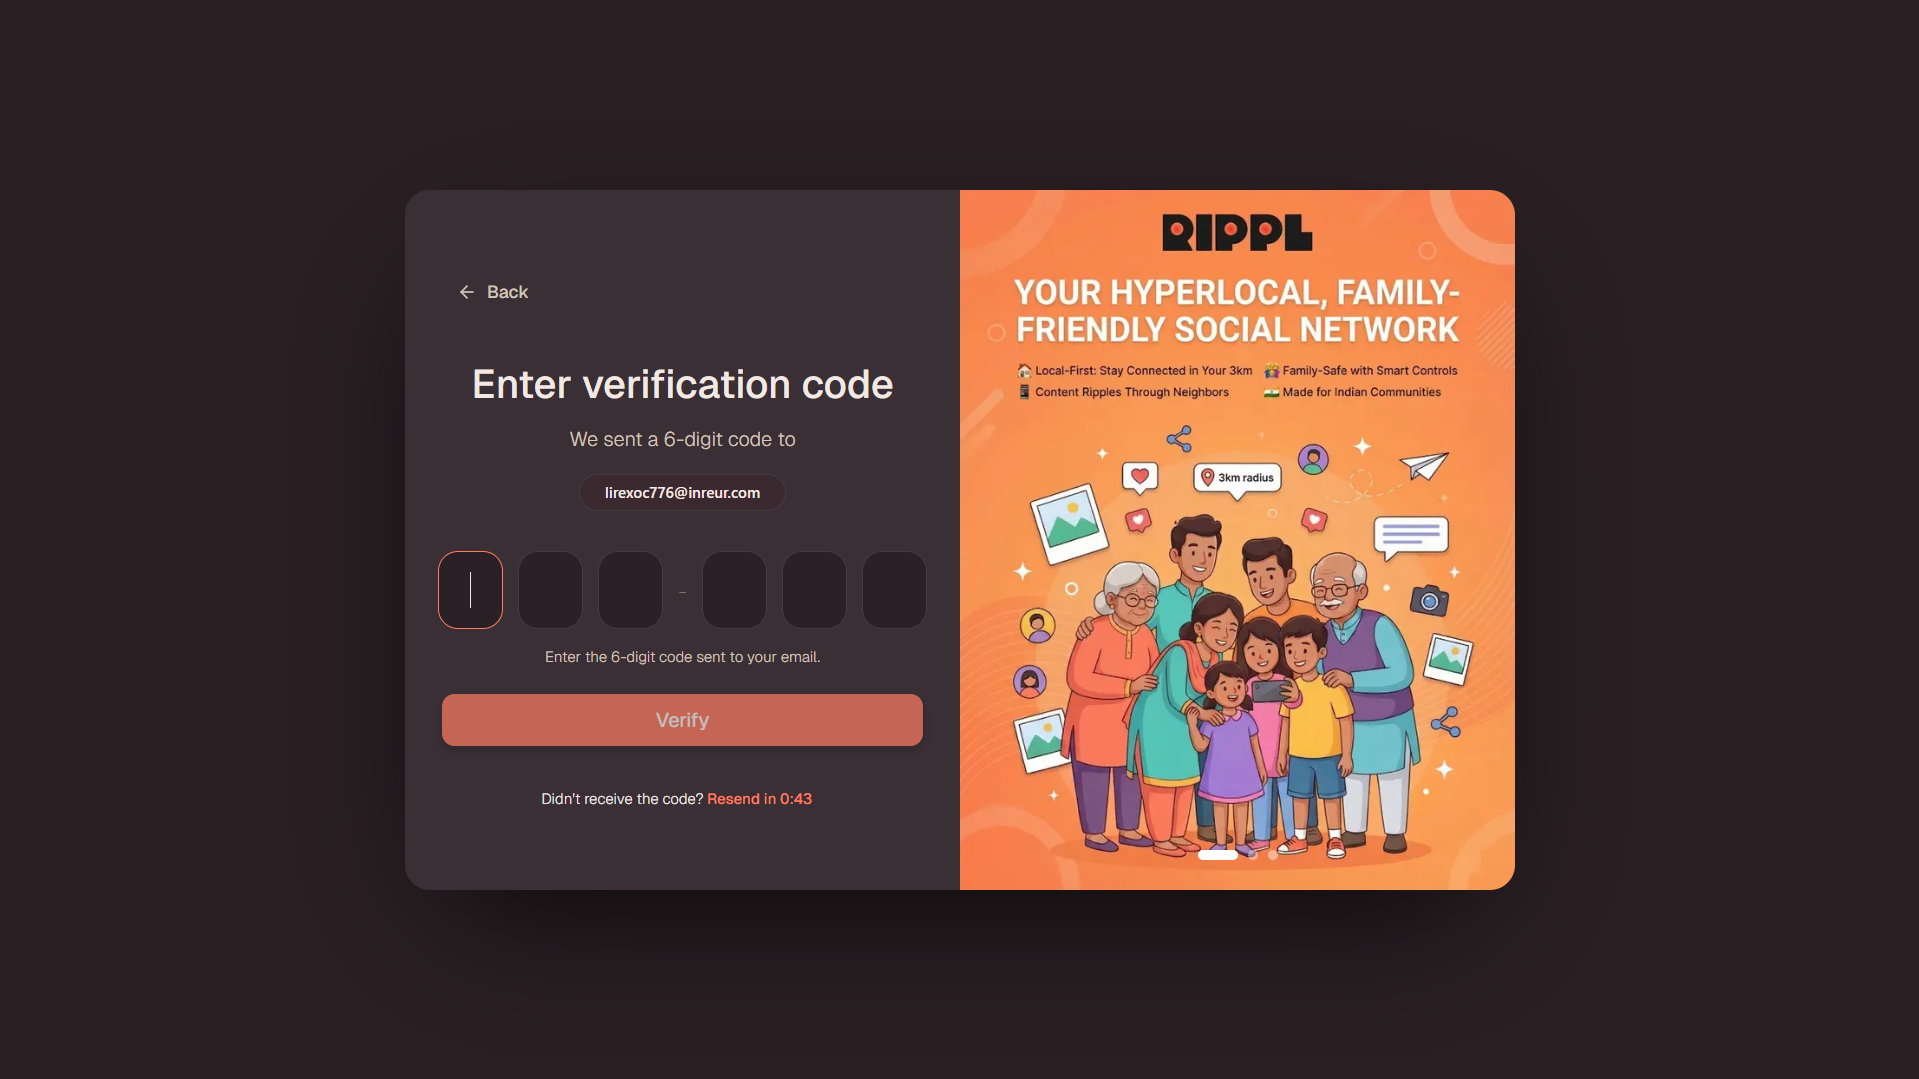
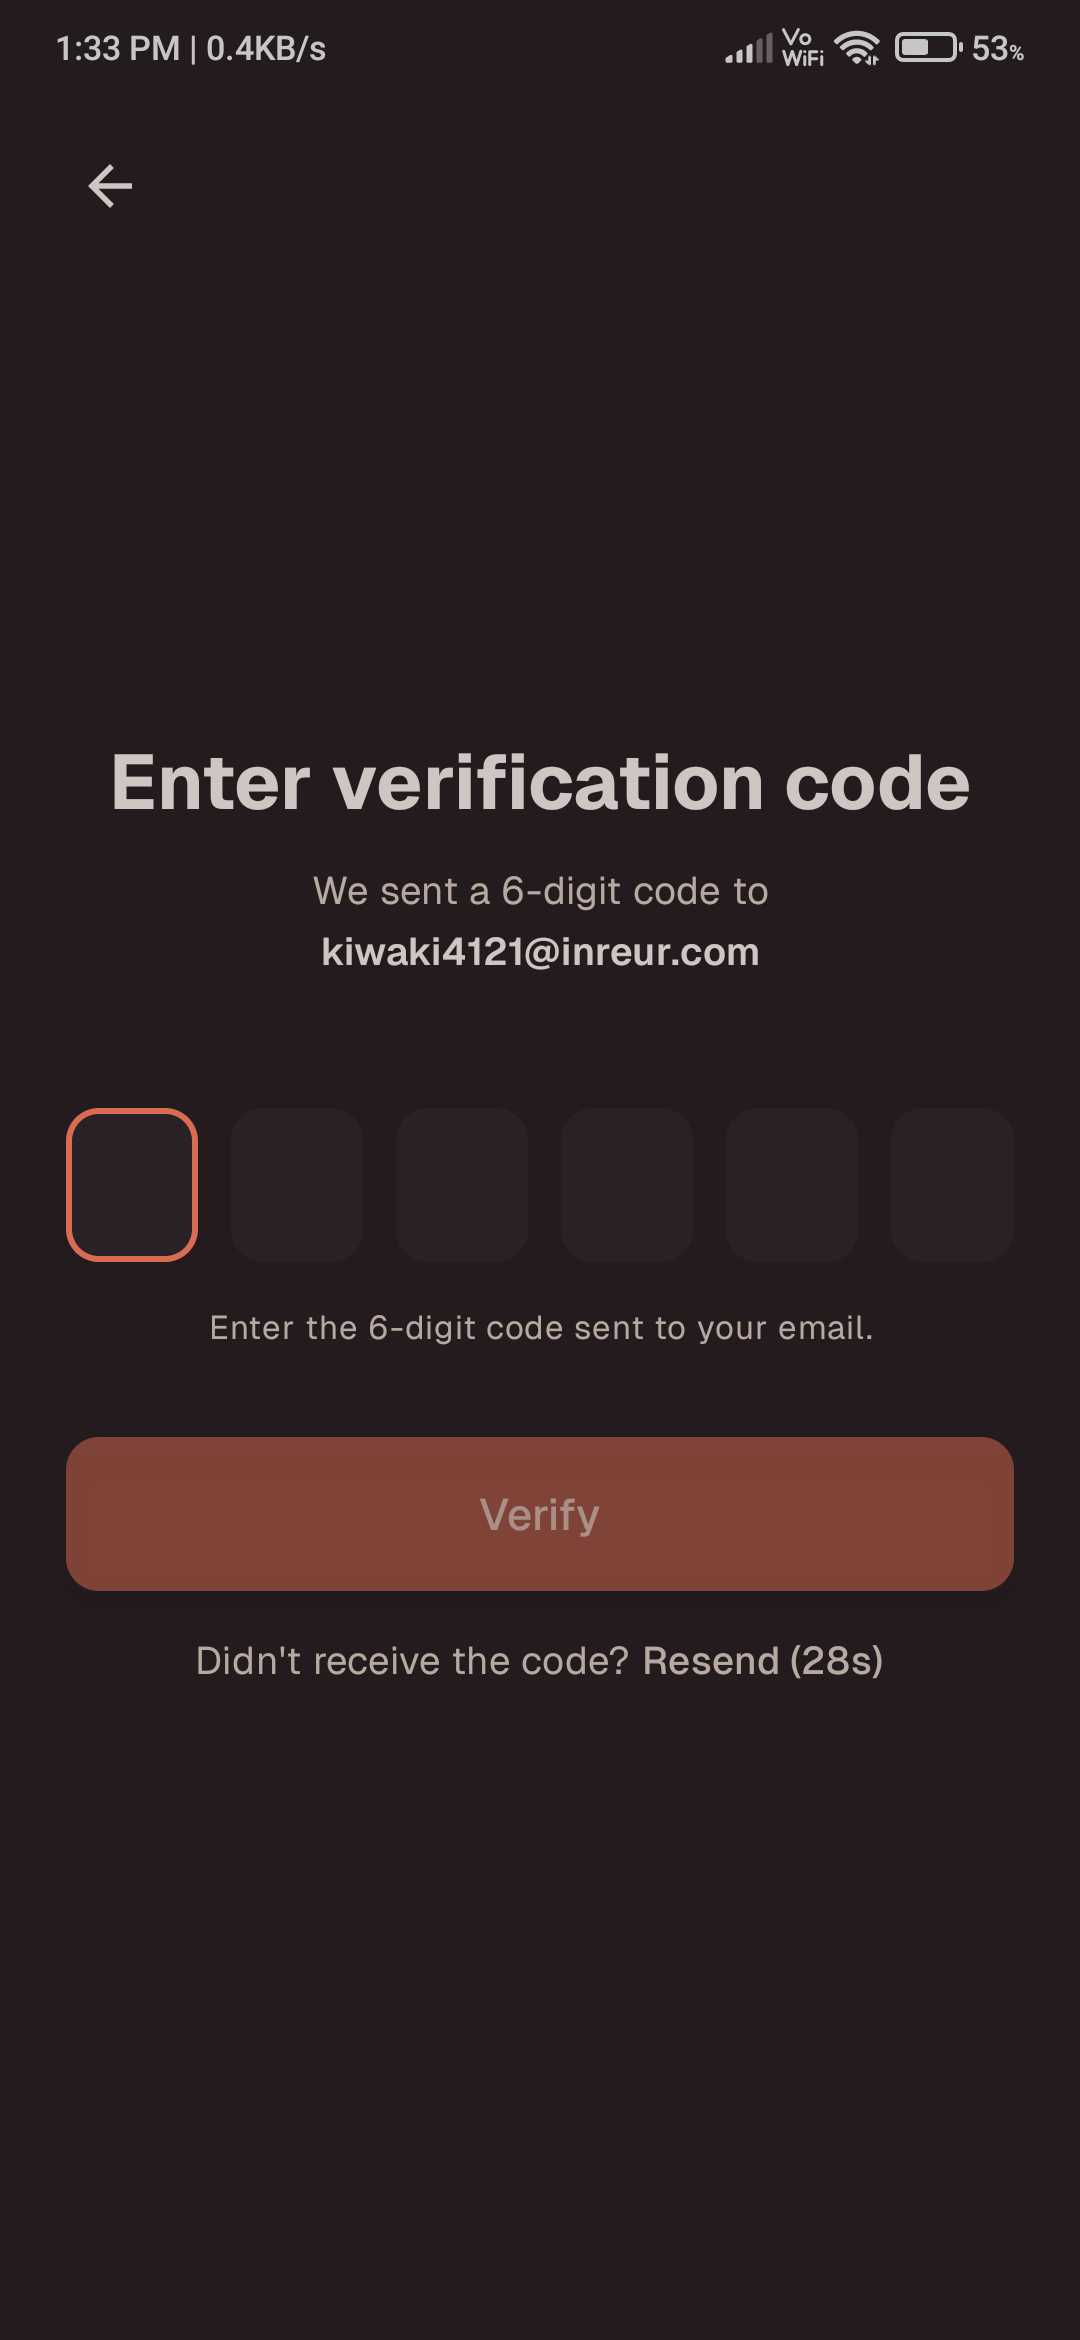
Verify with OTP to Complete
If you registered using your email address, an One-Time Password (OTP) will be sent to your inbox. Simply enter this code on the verification screen to complete your registration process and establish your profile!
Logging Into Your Account
Already signed up? Logging back into your account uses the exact same secure and easy flow.
Enter Email or Use Google
On the Login screen, enter your registered email address or click Continue with Google to sign in instantly.

Verify OTP and Enter Rippl
If logging in with an email, quickly enter the OTP sent to your inbox. Upon successful validation, you will instantly be taken to the Home page!
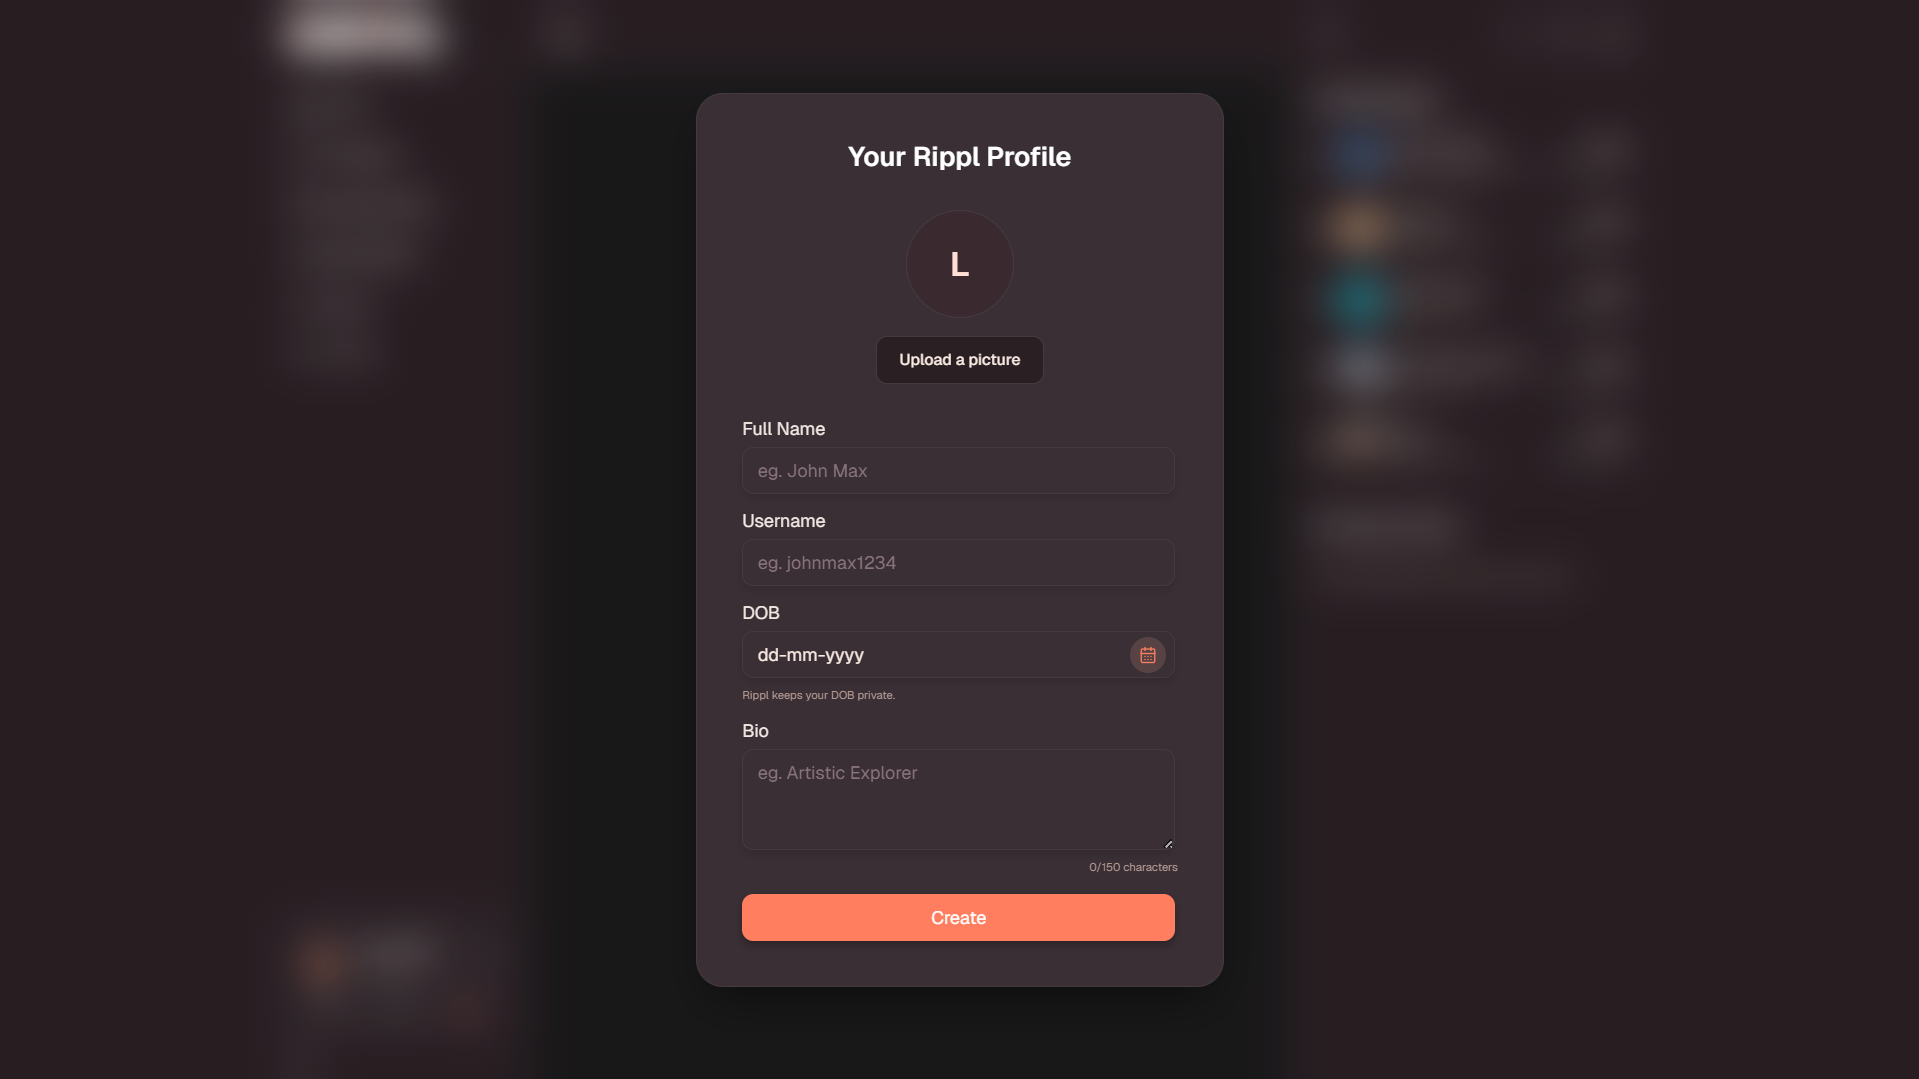
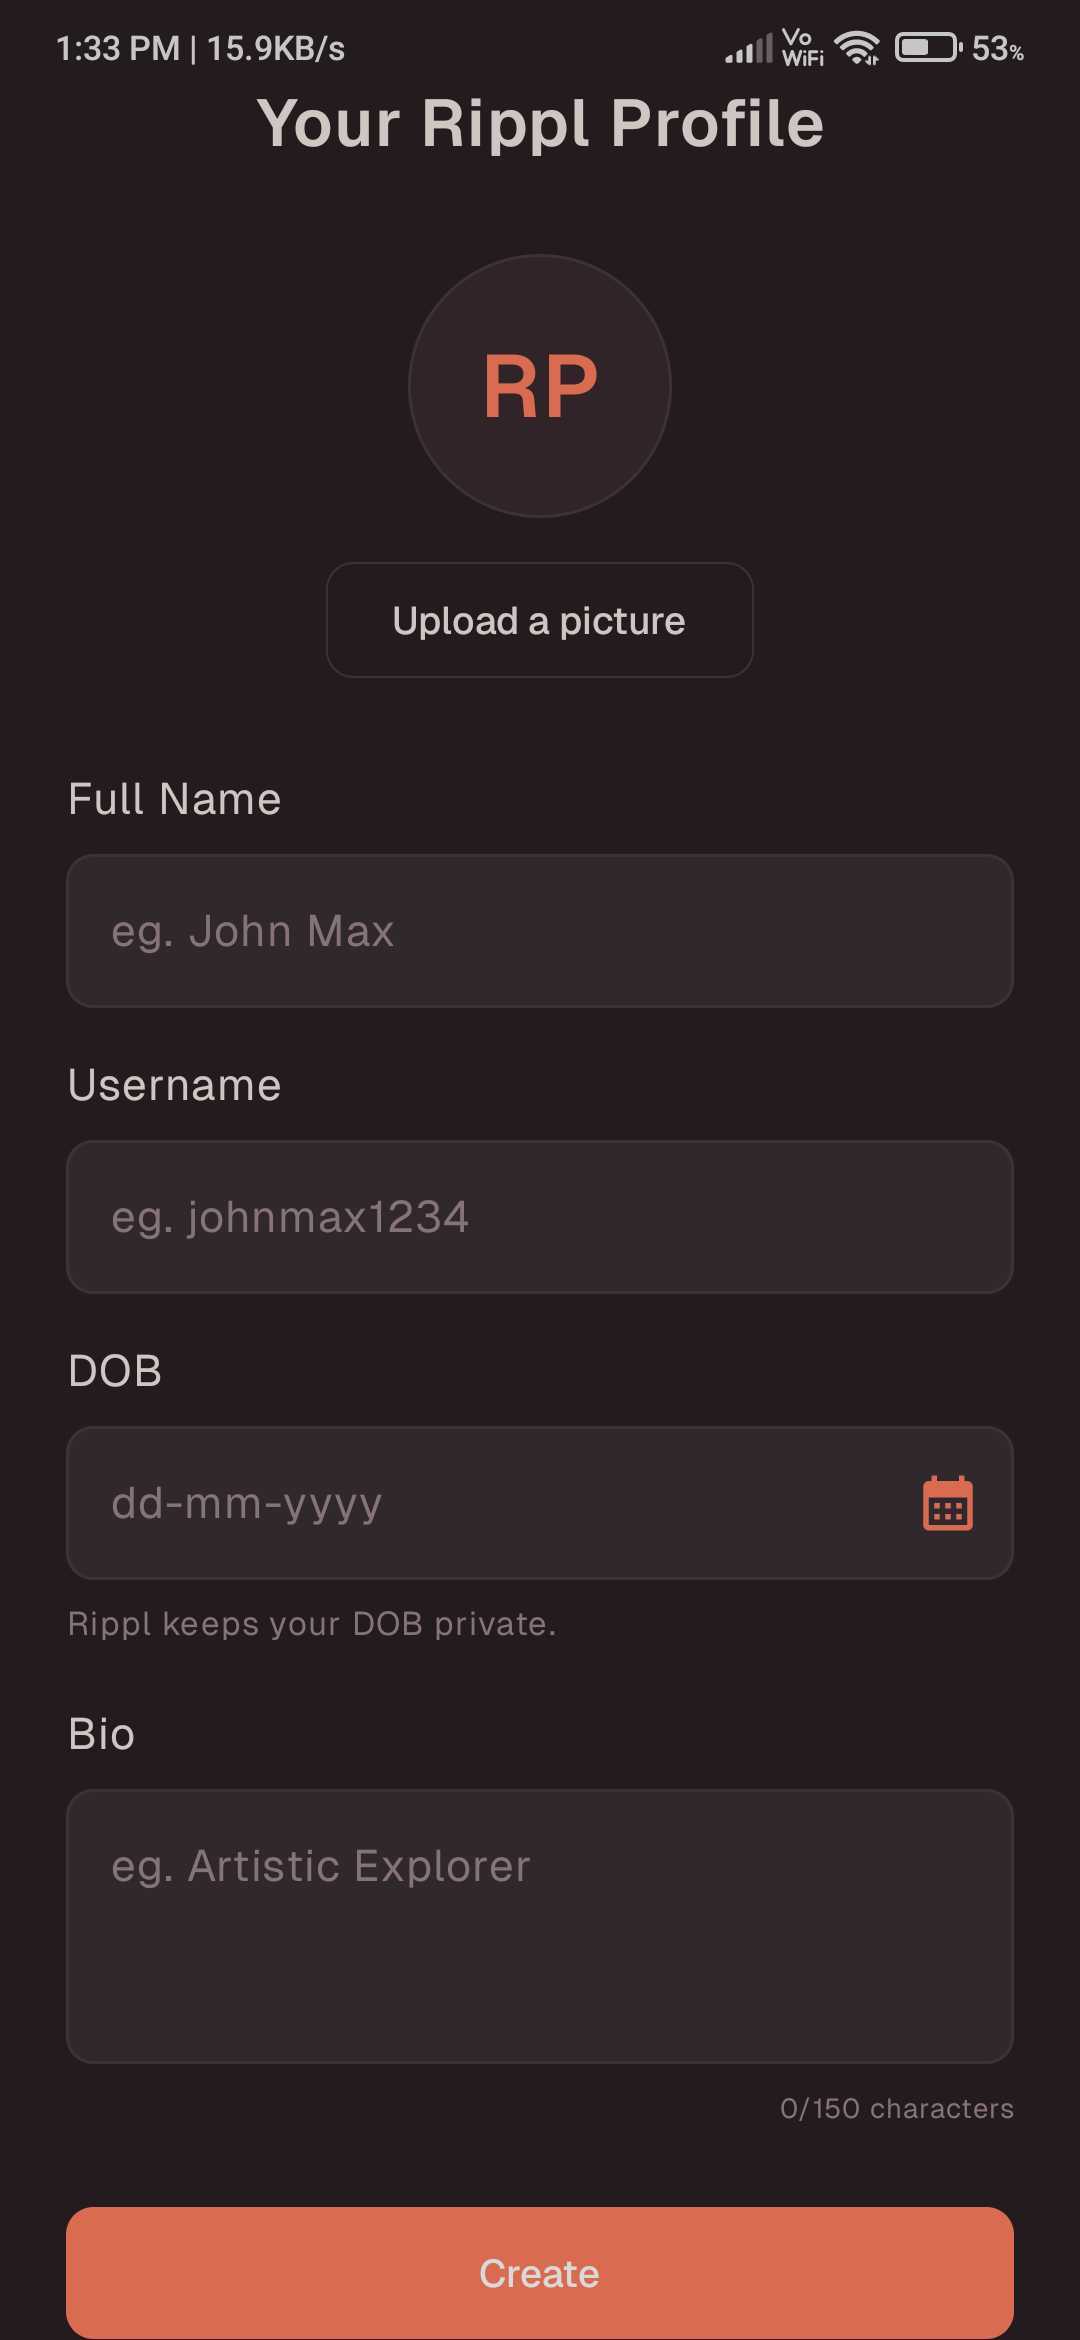
Completing Your User Details
Once you're securely logged in, it's time to personalize your Rippl presence. Providing accurate details helps you connect authentically with your neighborhood and community.
Essential Profile Information
- •Profile Photo: Upload a clear, recognizable picture. You can easily do this during setup, or perfectly fine to skip and upload one later directly from your user profile.
- •Full Name: Enter your real, complete name so friends and neighbors know exactly who they are interacting with.
- •Username: Choose a unique username that represents your identity on Rippl.
- •Date of Birth: Provide your correct birth date to ensure an age-appropriate, family-friendly experience across the platform.
- •Your Bio: Add a brief, welcoming summary about yourself, your interests, or what brings you to the community.
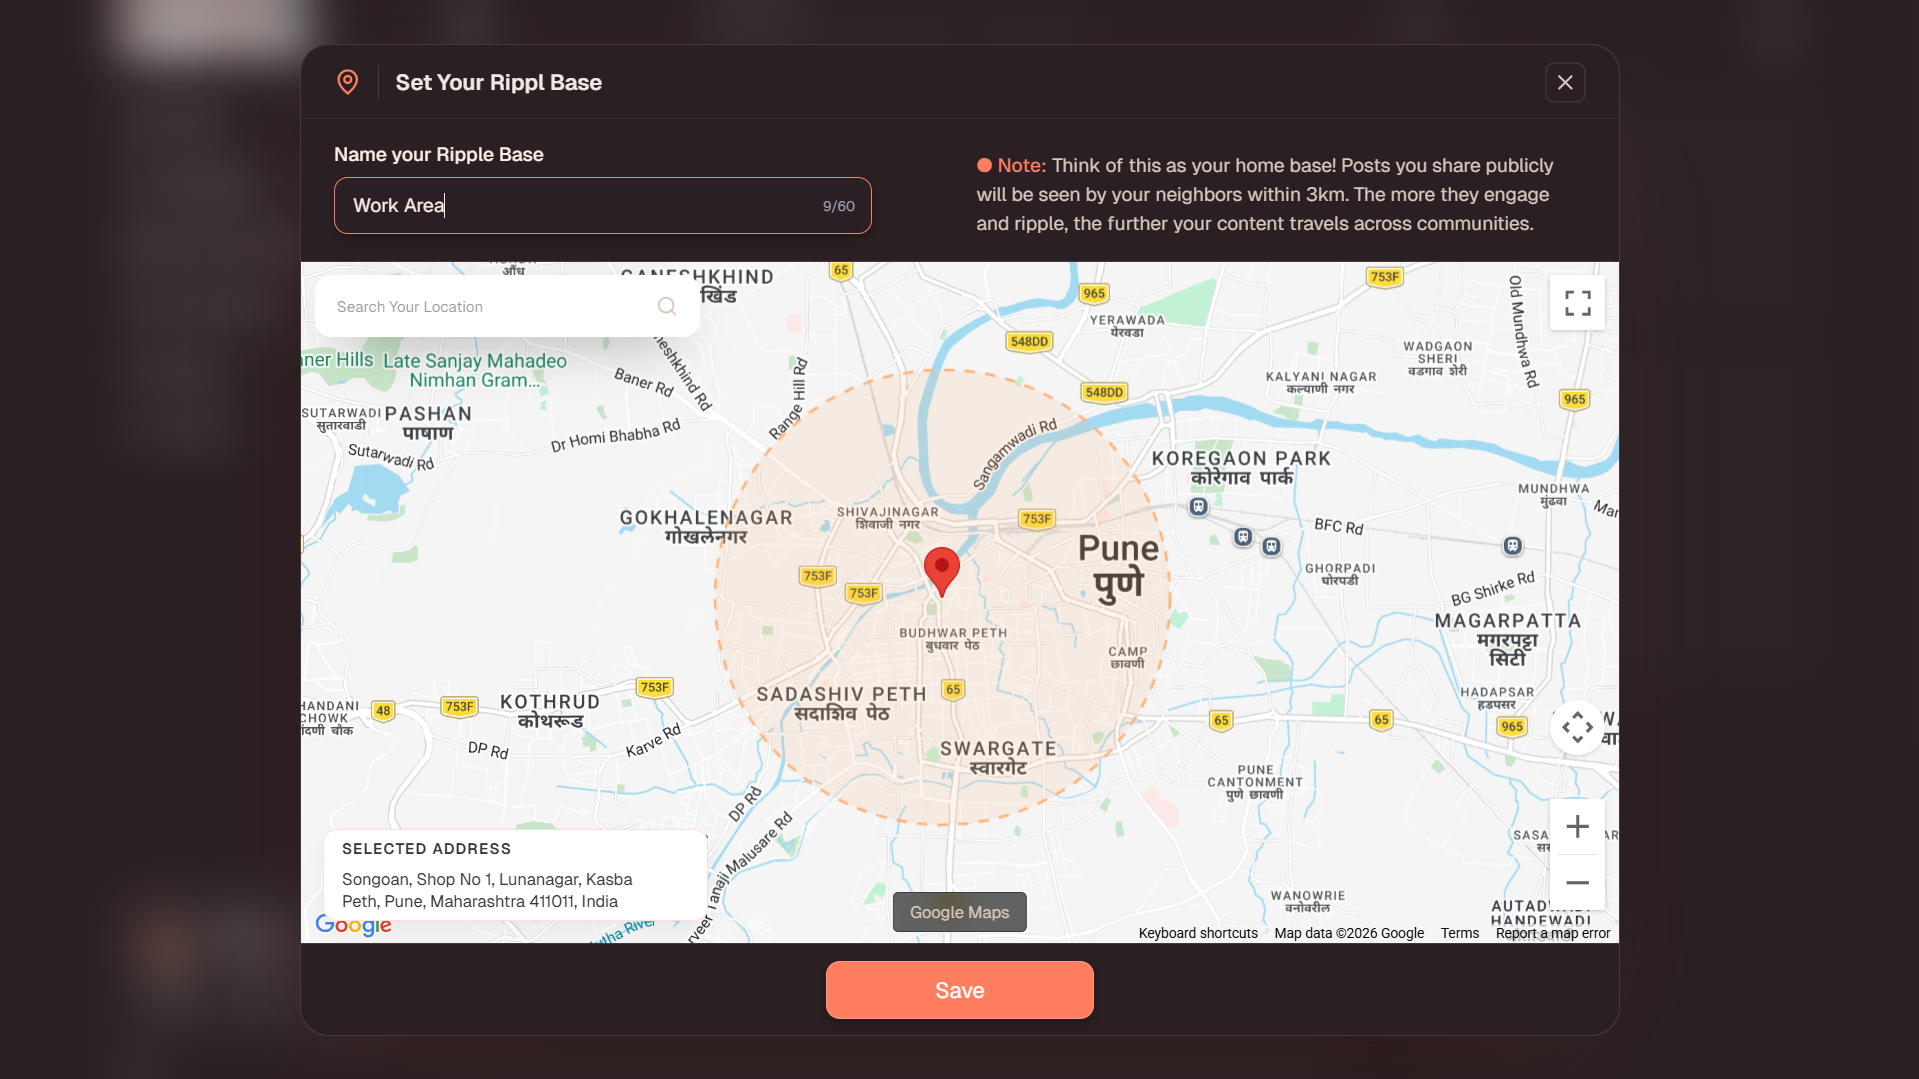
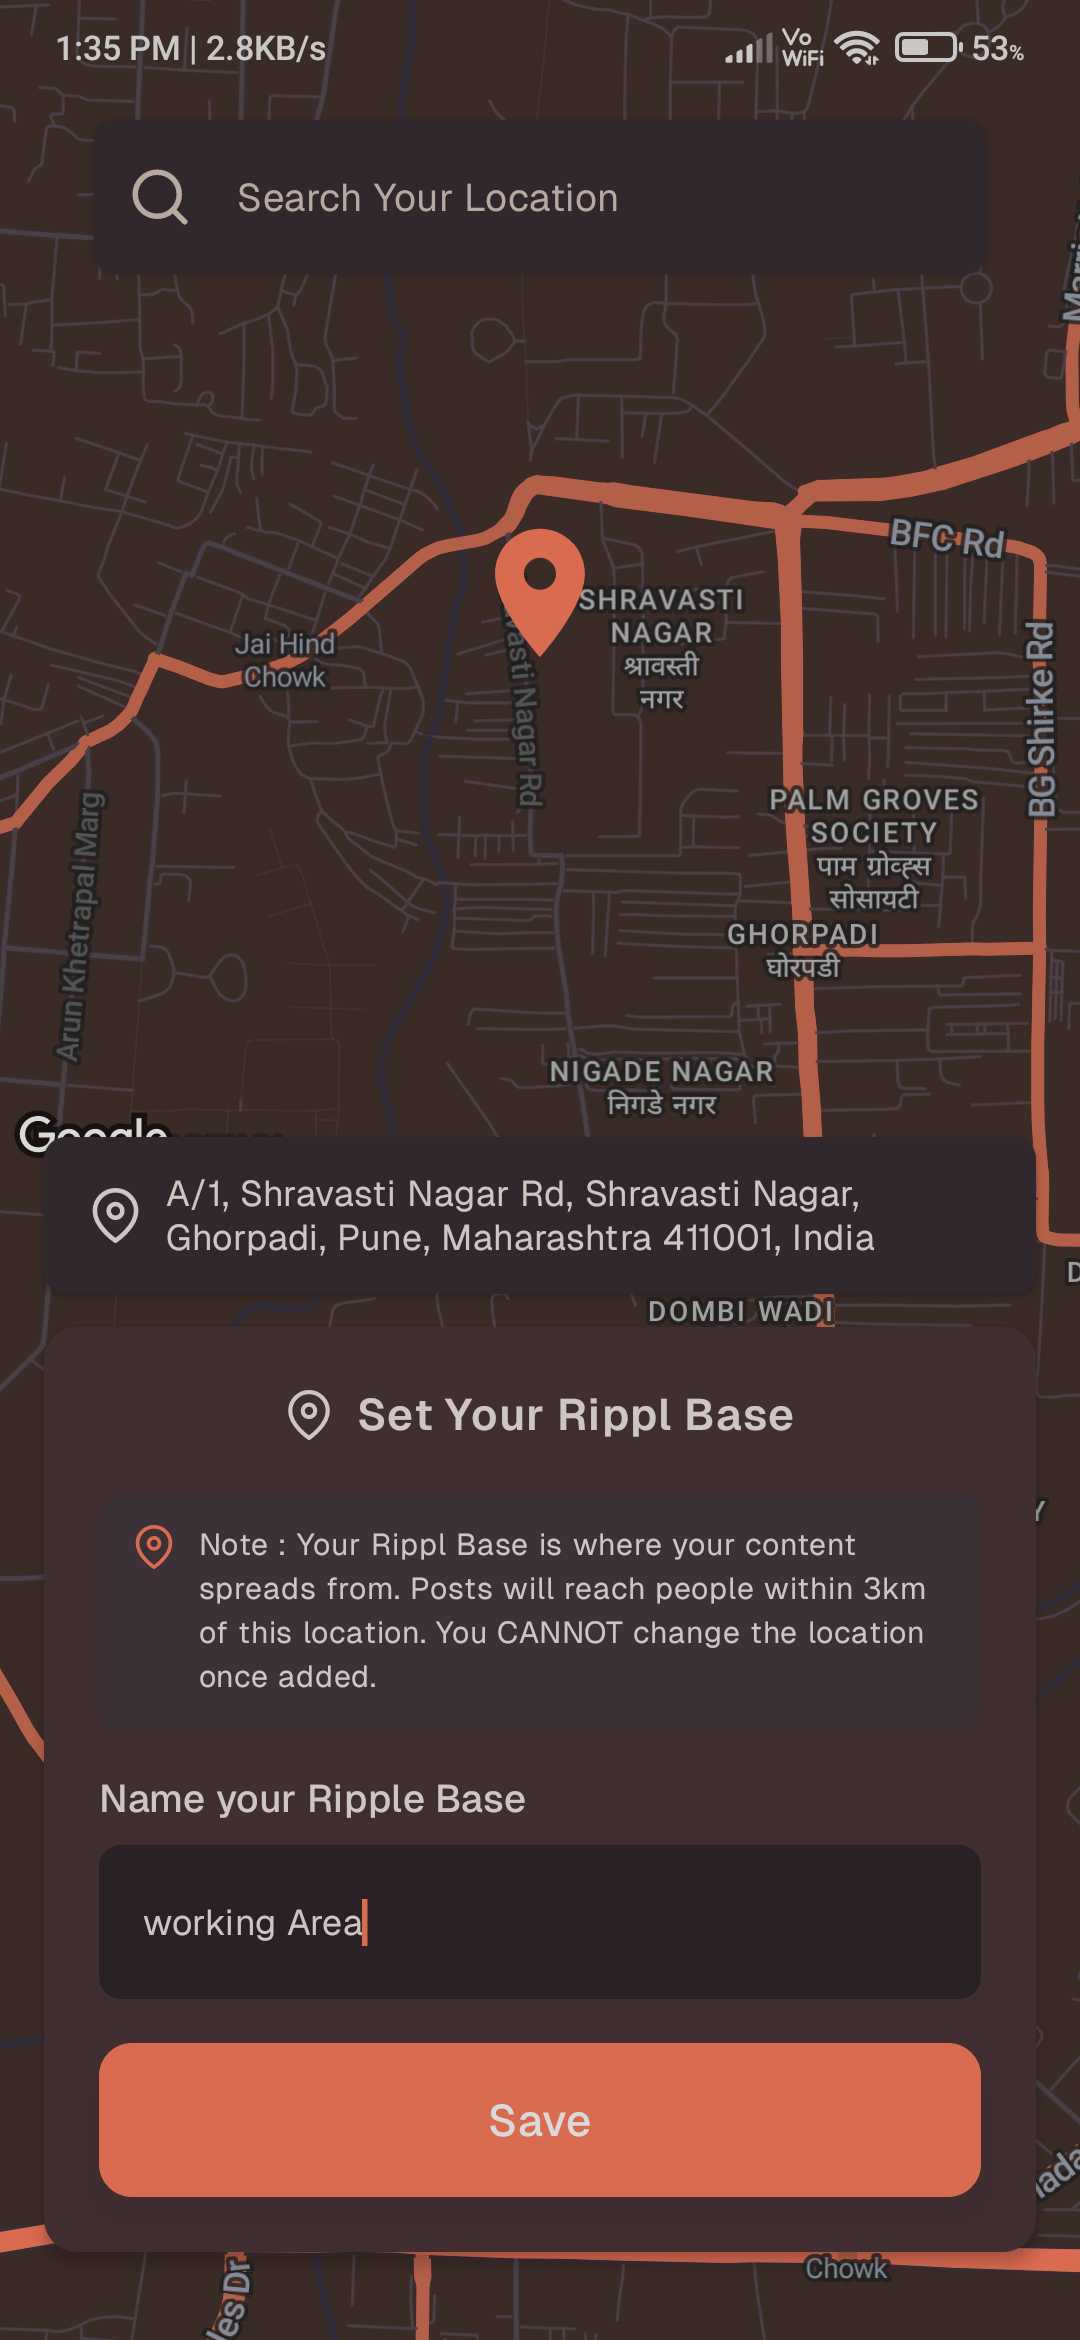
Setting Up Your Rippl Base
Your "Rippl Base" represents your core neighborhood—a 3km radius zone where you can connect, discover, and interact with the local community around you.
Create Your Zone
- •Name Your Base: Choose a nice, recognizable name that perfectly represents your local zone or community area.
- •Pin Your Location: Select the geographic center of your Rippl Zone by pinning it on the map.
- •Search to Find: You can easily locate your desired area by typing the name of your city, street, or landmark into the upper search bar.
Privacy Tip: It is not mandatory to pin your exact home location! To protect your privacy, you can simply place the pin on a nearby landmark, crossroad, or general area to securely set up your zone.
Profile Setup Complete!
Congratulations, your profile setup is officially completed successfully! After this step, you will be instantly redirected to your Home page, where you can immediately start exploring your neighborhood and connecting with your new Rippl community.
Profile Do's and Don'ts
Do's
- •Use your real name to build trust in the community.
- •Upload a clear profile picture so others can recognize you.
- •Write a short, friendly bio that introduces who you are.
Don'ts
- •Use offensive language in your profile details or bio.
- •Share private information like passwords or financial details.
- •Impersonate others or use misleading profile information.
Need more help?
If you have any questions or concerns, please don't hesitate to contact our support team at [email protected].